> For the complete documentation index, see [llms.txt](https://helpcenter.channable.com/llms.txt). Markdown versions of documentation pages are available by appending `.md` to page URLs; this page is available as [Markdown](https://helpcenter.channable.com/css/css-it/configura/how-to-set-up-a-channable-css-merchant.md).
# Configura arriba un commerciante Channable CSS
Connetti il tuo Account di Google Merchant Center y configura arriba un merchant en Channable CSS.
Questo articolo spiega come Para unirti a Channable CSS y registrare un merchant.
### :memo-circle-check: Prima di iniziare
**Ti servirà**
* Un Account Channable
* Un Account Google con accesso amministratore Para **entrambi**:
* l'Account Merchant Center che vuoi usar
* l'Account Google Ads che vuoi usar
* Ti basta Crear Connessioni per CSS en Channable en **\[la tua azienda] > CSS** I merchant che usano questi passaggi.
**Buono Para sapersi**
* [**Passando Para Channable CSS**](#approve-the-css-switch-in-google-merchant-center) richiede solo di accettare un invito en Google Merchant Center. Non devi Para cambiare le tue campagne o il feed dei prodotti.
* Title Optimizer, Labelizer y i dati sorgente supplementari funzionano non appena il tuo piano CSS inizia.
* Il vantaggio di margine CPC del 20% inizia **dopo** il passaggio CSS si completa.
**Prezzi CSS**
* Il costo de un negozio CSS è 29 € per negozio, indipendentemente de Número di paesi en cui vendi en. Di solito 1 negozio = 1 ID Google Merchant Center. [Scopri di più sui prezzi CSS](https://helpcenter.channable.com/account-billing/account-and-billing-it/gestisci-il-tuo-abbonamento/piani-tariffari-di-channable/css-pricing.md).
* La fatturazione inizia quando il tuo piano CSS inizia, non quando il passaggio CSS si completa.
{% stepper %}
{% step %}
### Collega il tuo account Google Merchant Center
1. Vai Para **\[la tua azienda] > Commercianti CSS**.
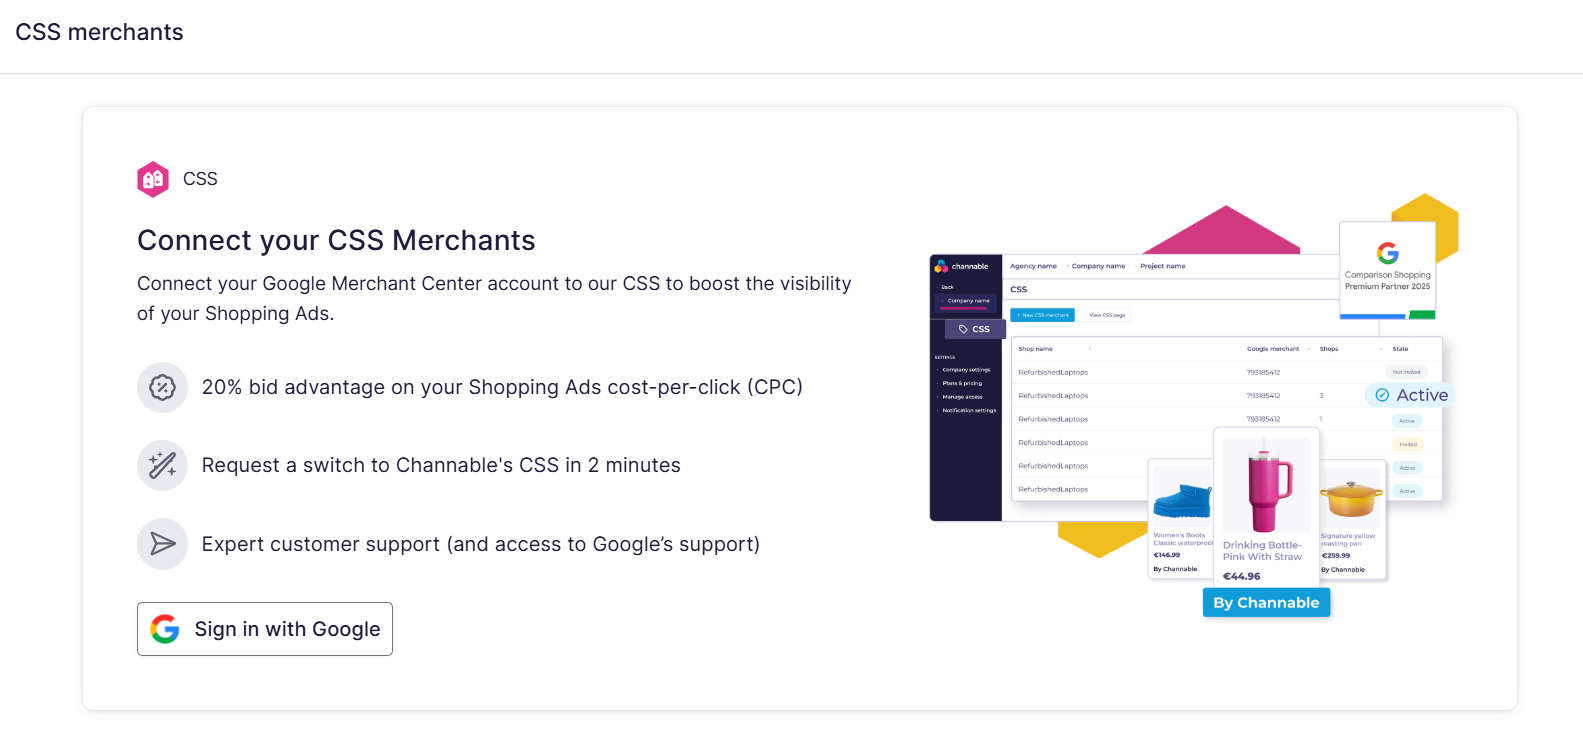
2. Fai clic **Accedi en Google** Para collegare il tuo account CSS Merchant Center.
{% hint style="info" %}
#### **Nota**
Assicurati di accedere utilizzando un account che dispone di accesso amministratore Para **entrambi**:
* l'Account Merchant Center che vuoi usar
* l'Account Google Ads che vuoi usar
{% endhint %}
3. Selecciona il tuo account Google o aggiungine uno diverso.
4. Dopo aver effettuato l'accesso en Google y aver consentito le autorizzazioni, verrai reindirizzato Para il nostro flusso di configurazione arriba.
{% endstep %}
{% step %}
### Configura arriba i tuoi commercianti CSS
Dopo aver effettuato l'accesso en, vedrai tutti gli account Merchant Center collegati Para l'account Google con cui hai effettuato l'accesso en.
1. Selecciona i commercianti che desideri collegare Para Channable CSS utilizzando le caselle di controllo y fai clic su **Conferma**.
{% hint style="info" %}
#### Aggiungi un metodo di pagamento
Aggiungi un metodo di pagamento en [Fatturazione e pagamento](https://helpcenter.channable.com/account-billing/manage-your-subscription/billing-and-payment). Il tuo piano CSS inizia non appena hai aggiunto i merchant y un metodo di pagamento.
{% endhint %}
Dopo che il tuo piano CSS inizia, Channable invia la richiesta di cambio CSS. si non sei un cliente Producthero migrato, Google invia un invito che devi accettare Para completare il passaggio ([vedi il Passaggio 4](#approve-the-css-switch-in-google-merchant-center)).
{% endstep %}
{% step %}
### Configura arriba la sorgente target supplementare per il tuo merchant en Google Merchant Center
{% hint style="info" %}
**Sei un cliente Producthero migrato?**
si hai già una sorgente target supplementare Producthero, [aggiungi una sorgente target supplementare Channable accanto ad essa](https://helpcenter.channable.com/css/css-it/migrazione-di-producthero/migra-de-producthero-para-channable/aggiungi-un-target-supplementare-channable-dopo-la-migrazione-de-producthero.md). Mantieni la sorgente target Producthero durante la transizione.
{% endhint %}
Para completare la tua Configura, dovrai aggiungere una sorgente target supplementare en Google Merchant Center. Questo consente di applicare le ottimizzazioni fatte en l'ambiente Channable CSS Para il tuo feed di prodotto.
Segui [questa guida](https://helpcenter.channable.com/css/readme/set-up-the-supplemental-source-for-your-merchant-in-google-merchant-center) Para impostare arriba la fonte supplementare per il tuo account commerciale.
{% endstep %}
{% step %}
### Approva il passaggio CSS en Google Merchant Center
{% hint style="info" %}
**Sei un cliente migrato da Producthero?**
Il passaggio de Producthero CSS Para Channable CSS sarà gestito automaticamente per te. Non è richiesta alcuna approvazione o azione aggiuntiva de tua parte.
{% endhint %}
Il tuo piano CSS è già attivo. Approva il passaggio Para ricevere il vantaggio del margine CPC del 20%.
Nell'email di invito di Google, ti verrà chiesto Para rivedere y approvare il passaggio en il tuo account Google Merchant Center.
Non so dove sia il link / ho perso l'email
si non riesci a trovare il link diretto de l'email di invito, puoi approvare il passaggio en il tuo account Google Merchant Center.
* Nel tuo account Google Merchant Center, vai Para **Impostazioni > opzioni generali dell'account > richiesta di revisione**.
Dopo che approvi la richiesta, il passaggio viene elaborato automaticamente. Ciò che accade dopo dipende dalla tua configurazione CSS attuale:
* **Se stai attualmente usando Google CSS**\
Il passaggio a Channable CSS avverrà immediatamente dopo l'approvazione.
* **Se stai attualmente usando un altro partner CSS**\
Il passaggio può tomar arriba Para 14 días, a seconda del periodo di grazia del tuo partner CSS attuale. Durante questo tiempo, i tuoi annunci Shopping continueranno a essere pubblicati come al solito, y il passaggio si completa automaticamente quando il periodo di grazia termina.
{% endstep %}
{% endstepper %}
---
# Agent Instructions
This documentation is published with GitBook. GitBook is the documentation platform designed so that both humans and AI agents can read, navigate, and reason over technical content effectively. Learn more at gitbook.com.
## Querying This Documentation
If you need additional information that is not directly available in this page, you can query the documentation by asking a question.
Perform an HTTP GET request on the following URL with the `ask` and `goal` query parameters:
```
GET https://helpcenter.channable.com/css/css-it/configura/how-to-set-up-a-channable-css-merchant.md?ask=&goal=
```
`ask` is the immediate question: it should be specific, self-contained, and written in natural language.
`goal` is what the user is ultimately trying to achieve, the reason they need the answer. Sharing it helps GitBook give you a better, more relevant answer. A goal is most helpful when it describes the outcome the user wants rather than restating the question. For example, with `ask=how do I create an API token`, a goal like `automate deployments from our CI pipeline` lets GitBook tailor the answer to that use case.
The response will contain a direct answer to the question and relevant excerpts and sources from the documentation.
Use this mechanism when the answer is not explicitly present in the current page, you need clarification or additional context, or you want to retrieve related documentation sections.